While welding videos litter the internet and YouTube, we wanted to abbreviate our how to MIG weld video in 5 minutes. We did succeed in welding within 5 minutes, but our video in entirety extends just past the seven minute mark. We discuss just the basics in hopes to get the beginner started on a safe MIG welding journey. One that we hope will encourage you to dig further and deeper into this metal art.
[adsenseyu1]
How To MIG Weld In 5 Minutes Safety
 Safety first! After all, we are turning steel into a molten slurry to turn multiple pieces into one. It makes sense to protect one’s self from potential harm, especially with extreme hot temps and high voltage present. We were outfitted with a welding jacket, but a good thick denim jack with full coverage can work as well. Denim jeans or welding pants (or chaps) are recommended for the bottom regions. Leather boots should be worn to protect the feet from projected and falling red-hot molten embers, as well as hick leather or synthetic welding gloves should be worn on the hands. Most importantly, a welding helmet should be worn with a welding lens (preferrably auto-darkening) to protect the only two eyes we have. Also recommended is safety glasses even under the helmet.
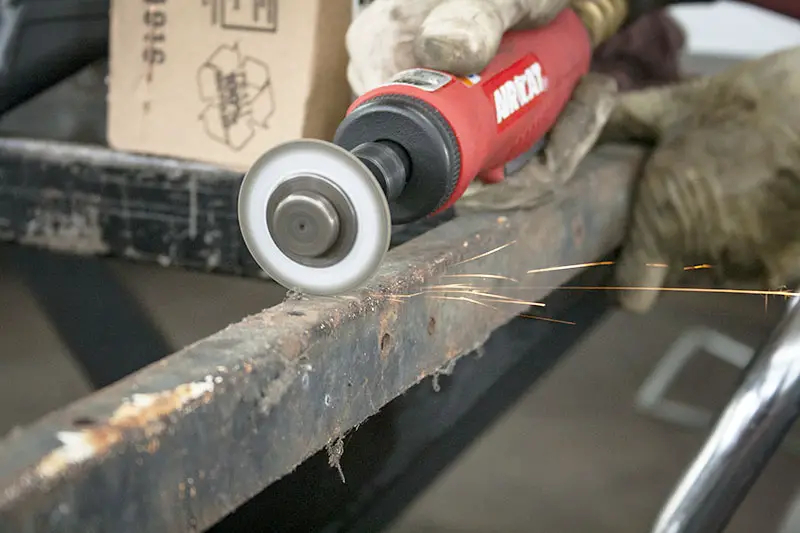
 With our safety gear in place, we set out to tackle the How to MIG weld in 5 minutes video feat. The beauty and success of finished welds are determined by more than just the experience and skill of the welder. The parts and pieces being welded together need to be free of oil, paint, scale and rust. This may be a little more forgiving when arc (stick) welding, but not so much when using a MIG. Using a grinder like the DeWalt with a flap disk, can be a real time saver. To get more into the tight spaces and nooks and crannies, the Ingersoll Rand G1621 works well with a 2″ or 3″ abrasive disc.
MIG Weld Equipment
[adsenseyu2]
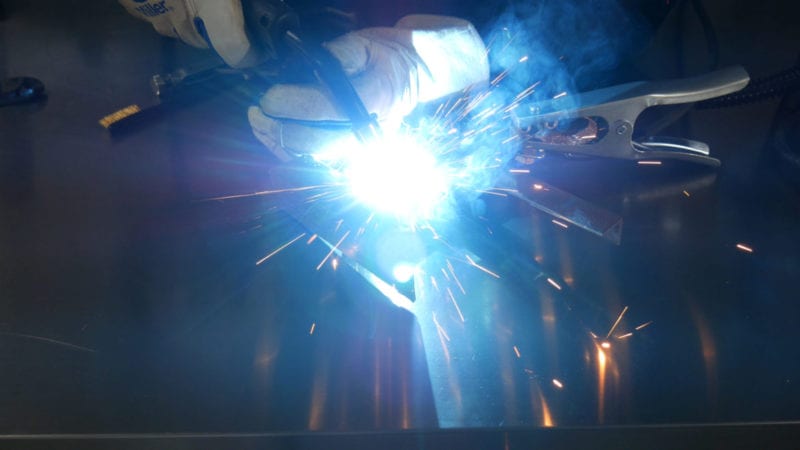
We used the Miller Multimatic 215 for our test subject, which we reviewed at an earlier date. The Multimatic makes setup a breeze, with near-automation from the digital display. Even with a conventional MIG, setup is not too tough. We set the Argon/Co2 (75/25) to 18 CFH, and trimmed the voltage and wire-feed speed. With the ground attached to the work-piece, we pulled the trigger to the Miller MIG, hence welding ensued.


Leave a Reply