In Part 1 of this 3-part series, we showed the removal and disassembly of the Rochester Quadrajet carburetor. In this segment, part 2, we complete the Quadrajet carburetor reassembly with the parts from the rebuild kit. With the rebuild complete, the next step will be installation and tuning on the Olds 442.
Step 1 – Quadrajet Disassembly
How to Tune a Carburetor Video – Part 3 Quadrajet Rebuild Series
Quadrajet Carburetor Reassembly Tools and Parts
The only tools needed for assembly are three straight-slot screwdrivers in varied sizes, a #2 phillips screwdriver, long needle-nose pliers, a handy worklight. In addition, you want to make sure that you have some WD-40, silicone, or spray lubricant of your choice. With the Quadrajet body, air-horn and baseplate all cleaned, the concern of grease and grime intrusion almost evaporates. You know what they say: “cleanliness is next to Godliness”. You can’t go wrong there when dealing with combustion engines, especially fuel and air passages. A small wire or welding tip cleaners may help with clearing passages as well.
[adsenseyu1]
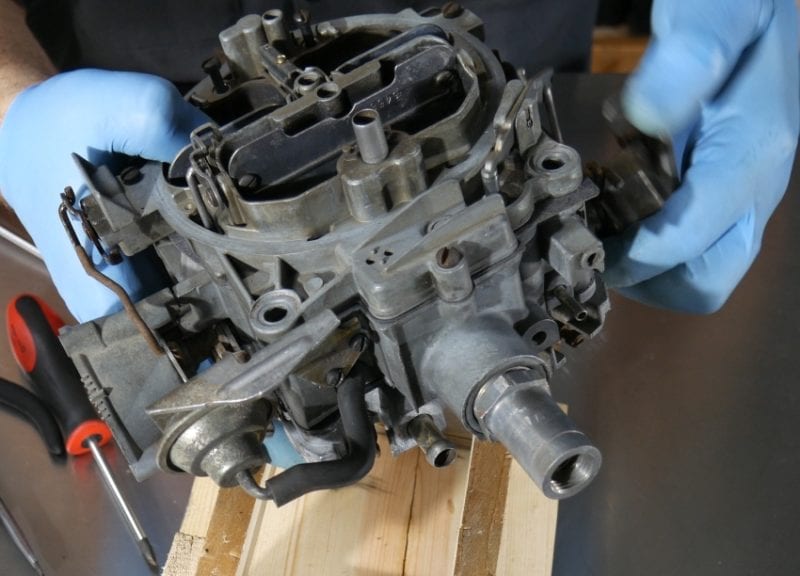
With the exception of just a few, we used existing parts for the rebuild. New gaskets throughout were installed. The float, needle and seat were replaced, as well as the float was adjusted to 1/8″ from the top of the carburetor. In addition, a new rubber skirt was installed on the accelerator pump plunger, and the only check-ball was replaced.
Our attention then turned to screwing the air-horn, body, and baseplate together. The only two phillips screws install from the bottom of the carb, up into the main body. Nine straight-slot screws enter from the top (airhorn), with seven of them threading into the body, and two going through the body and threading into the baseplate.
[adsenseyu2]
Finally, we installed the choke assembly and break vacuum booster along with the attached linkages. The rebuilt Quadrajet is now ready for installation on the Oldsmobile 442. Tune in next week, as we complete the series with Part 3 – Installation and Tuning.
Catch it all on https:/shoptoolreviews.com and keep up with us on Instagram, Facebook and Twitter.


Leave a Reply