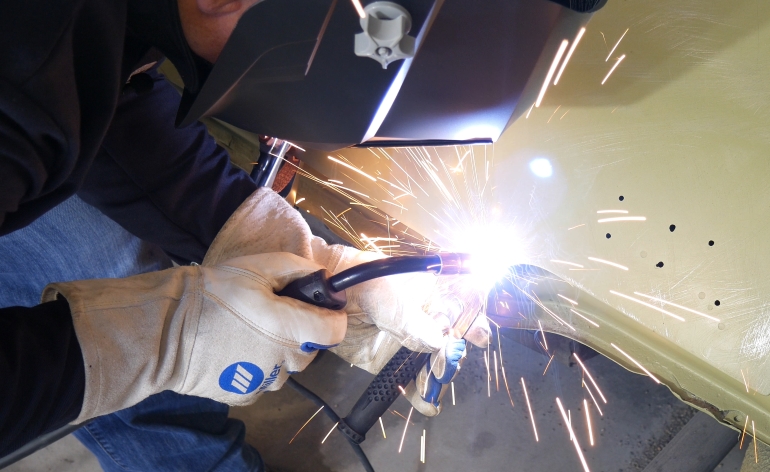
 Whether you are welding body panels on cars or doing ornamental metal art, there will come a time for the need to weld-up a hole. With simple tools, this is a very easy task. In only a few minutes, you can learn how to plug weld holes. We are using our Miller Multimatic 215, but any MIG welder will work. If you are unfamiliar using a MIG welder, check out our other video: How To MIG Weld In 5 Minutes.
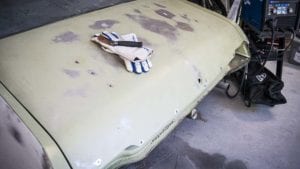
Our test subject is our project vehicle, an Oldsmobile 442 from 1971. The trunk lid is from a Cutlass trunk lid. The Cutlass lid has the same form and shape, however the trim is different on a Cutlass than on a 442. Multiple holes across the bottom of the trunk lid need filling. Filling these completely with body filler increases the chance of corrosion down the road, hence we fill these with molten metal via the Miller Multimatic 215.
[adsenseyu1]
How To Plug Weld Holes Requirements
 Essential to any welding project, the metal receiving the weld should be clean of oil, grease and debris. In addition, any paint or finish should be removed with a sander or grinder, leaving only clean metal surrounding the weld area. Ensure the Argon/Co2 valve is open and the guage adjusted to somewhere in the 18-24 CFH range. Ensure that your MIG voltage is set appropriately for the thickness of metal you are welding. Also, make sure the wire feed speed appropriately matches for the job at hand. This shouldn’t require a lot of wire, since there is little penetration and mostly fill. You may need to play with these settings as you use the MIG and fill the holes.
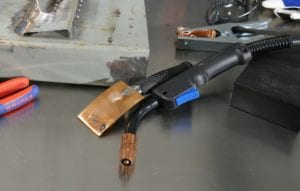
If you have come here to learn how to plug weld holes like we’re doing here, with no backing to the hole, there is one tool needed. This tool is called a welding spoon or copper spoon. Basically, the welding spoon provides a non-stick surface for the weld material, hence the metal sticks to the surrounding hole, not the spoon. Holes larger than 5/16″ should take more than one pass. Fill 1/3 to 1/2 of the hole, let it cool, and finish on the second or third pass.
[adsenseyu2]






Leave a Reply