We love our routers around here, but for the uninitiated (which we all were at one point or another), they can be tricky tools to use until you get the hang of it. So, we’ve got some tips for that Funny New Guy of the group who hasn’t quite worked it all out yet. Here’s how to use a router without looking like a total noob.
[adsenseyu1]
How To Use A Router
Choose A Bit
First things first, you’ll need to settle on a bit. The router is an extremely versatile tool, but what you can do with it all depends on your bit selection. Routers can shape decorative angles, cut grooves and slots, make moldings, rout intricate inlays, mill woodworking joints, form raised panels, etc. 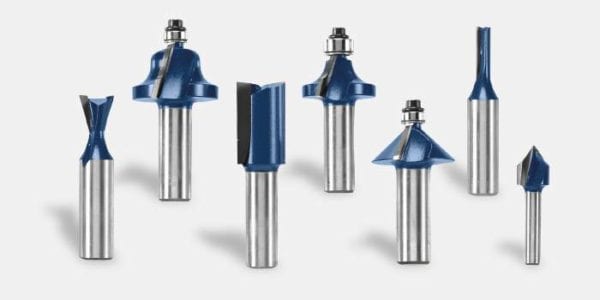
No matter what type of cut you’re trying to make, all router bits come in one of two shank varieties: 1/4″ and 1/2″. As a general rule, you’ll probably want to stick with the larger shank size. There are a few reasons for this. For one thing, a thicker shank gives your collet more surface to grab onto which will minimize the chances of the bit coming loose under pressure. Secondly, that thicker shank will offer more stability. This will result in less chatter when cutting, and you’ll wind up with a better finish.
Also, before you use a router, make sure the bit you’ll be working with is sharp and free of old dirt and grime. If the bit is chipped or dull, either sharpen or replace it.
Setting Up
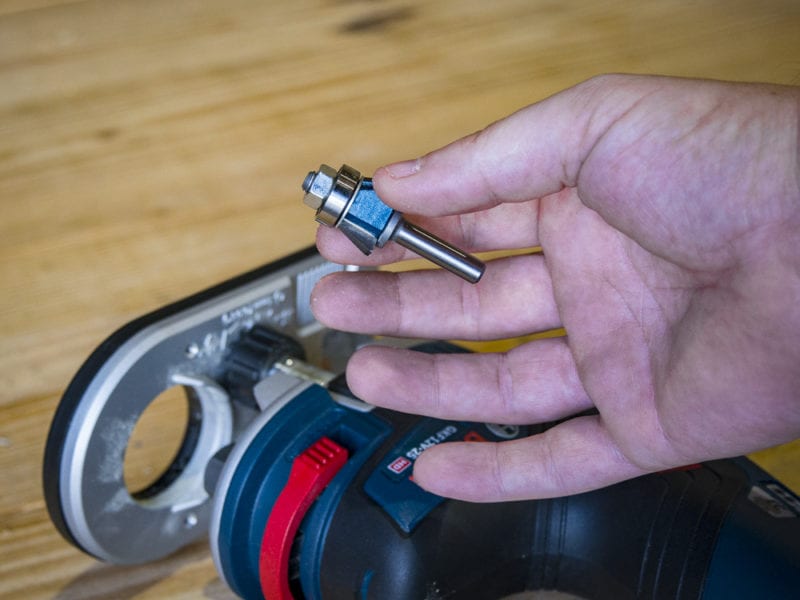
This step is key: when changing your bits, unplug the router. One of the quickest ways to look like a dope on the job site is to accidentally route out your hand. You’ll avoid the chance of that happening if you cut the power to your router before you go fiddling around with bits. You might also opt to remove the router base when changing out bits. It makes the process easier, and you run less risk of skinning up your knuckles.
You’ll also want to set 2/3 of the bit shank into the collet, which should keep it more secure. Keep in mind that, when cutting, you’ll apply side pressure to the bit, and the more support your bit has, the better.
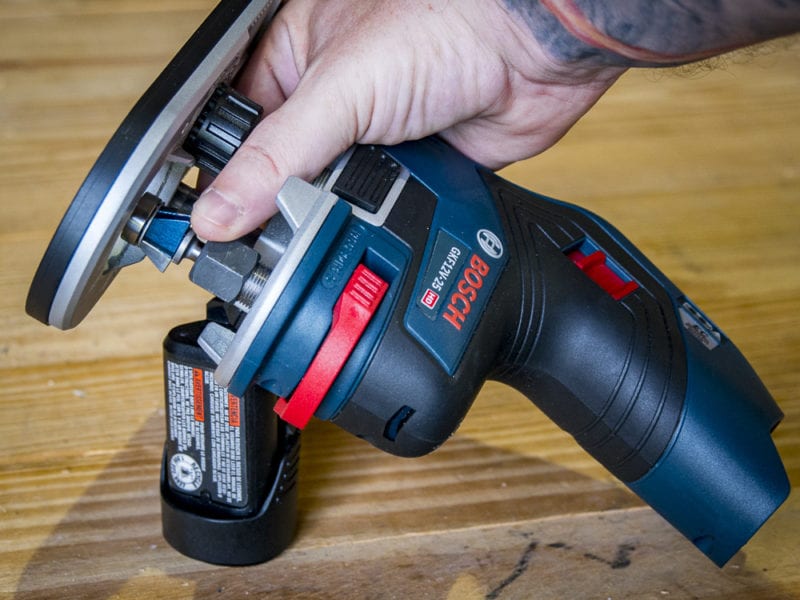
Pro Tip: Slide the bit all the way into the collet. Then, raise it slightly, about a 1/4″. Hold it in place while you hand tighten the collet nut. Then, finish tightening with a wrench to make sure the bit stays secure. You can also hold press in the collet-locking lever to keep your collet from spinning while you tighten.
With handheld routers, you’ll also want to secure your workpiece. Clamps will keep your material from getting inadvertently flung across the workshop. However, clamps will get in the way at points, and you’ll need to reposition them from time to time. Router mats also provide a non-skid surface that will hold your work in place, but you’ll notice that, as they get dusty, they’ll lose their grip. A good rinse should restore some of that grippiness.
Check Yo’ Self Before You Wreck Yo’ Self
Routers tend to be loud machines, and we’ve yet to see a manufacturer sink a whole lot of research and development into coming up with a whisper-quiet model. If you think about it, you’re pressing a blade spinning at really high RPMs up against hardwood. Reducing the ear-splitting shriek seems like a big ask. You’ll need some hearing protection to avoid damaging your ears.
Likewise, these tools work by chipping away at the work material. It stands to reason that you’ll have wood chips flying around while you work, and wearing eye protection always seems like the wisest course of action in situations like these.
Cutting
Direction
The biggest mistake that new woodworkers make with routing is to move in the wrong direction. You’ll always want to move the router against the rotation of the bit. This will allow the bit to cut into the wood while also giving you full control of the router. If you move along the edge of the piece in the wrong direction, you’ll constantly have to wrestle the tool into submission.
Pro Tip: Handheld routers always move left. To make your life easier, you can use a router fence on the left of the tool.
With a handheld router, if you look down at the tool, the bit will rotate clockwise. This means that, for effective and controlled cutting, you’ll need to move the router from left to right along the edge of the work surface.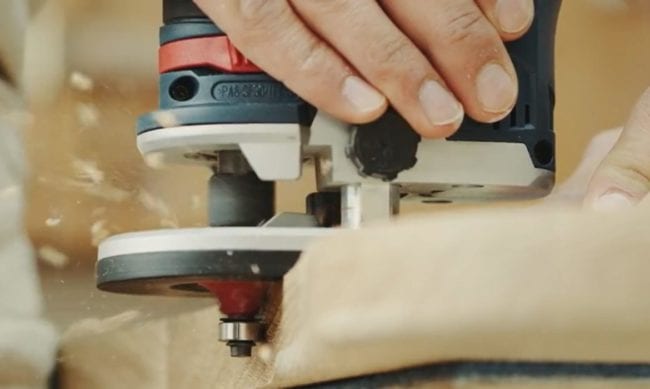
Of course, if you’ve mounted your router upside down into a router table, you’ll move the piece from right to left to allow the bit to chew into the wood.
So, Finally, It’s Time To Roll Over That Edge…
Finally, after you’ve set yourself up for success, it’s time to cut. Since the technique with any bit remains virtually the same across almost all bits, let’s say you’re rolling over the edge of a board. The first thing you’ll need to do is to set your height. Raise the bit height until the straight cutting edge is above the edge, leaving the rounded cutter to shape the edge.
Starting on your left, ease the bit into the edge of the board until the bearing on your bit touches the edge. Move the router from left to right. When you get to the end of your cut, pull the bit away from the edge of the board. Release the trigger, but allow the bit to stop spinning before lifting the router from the workpiece. Safety first, you know.
[adsenseyu2]
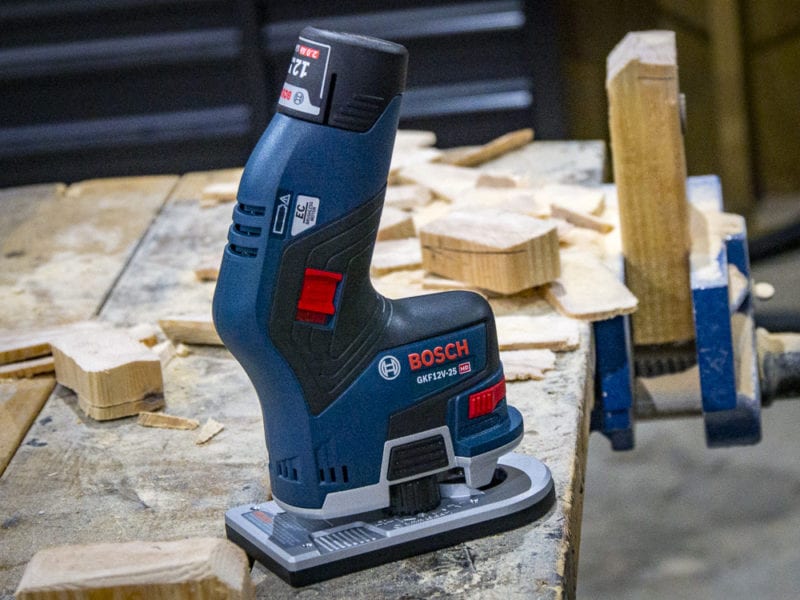
For this project, we used the Bosch 12V Max Palm Edge Router. If you have any tips or tricks for how to use a router, feel free to leave them in the comments below.


Leave a Reply